How to Translate a YouTube Video (4 Ways, Free to Fully Dubbed)
Watch any YouTube video in your language with auto-translated captions, or translate your own with subtitles, an AI dub in your voice or an audio track.
On this page
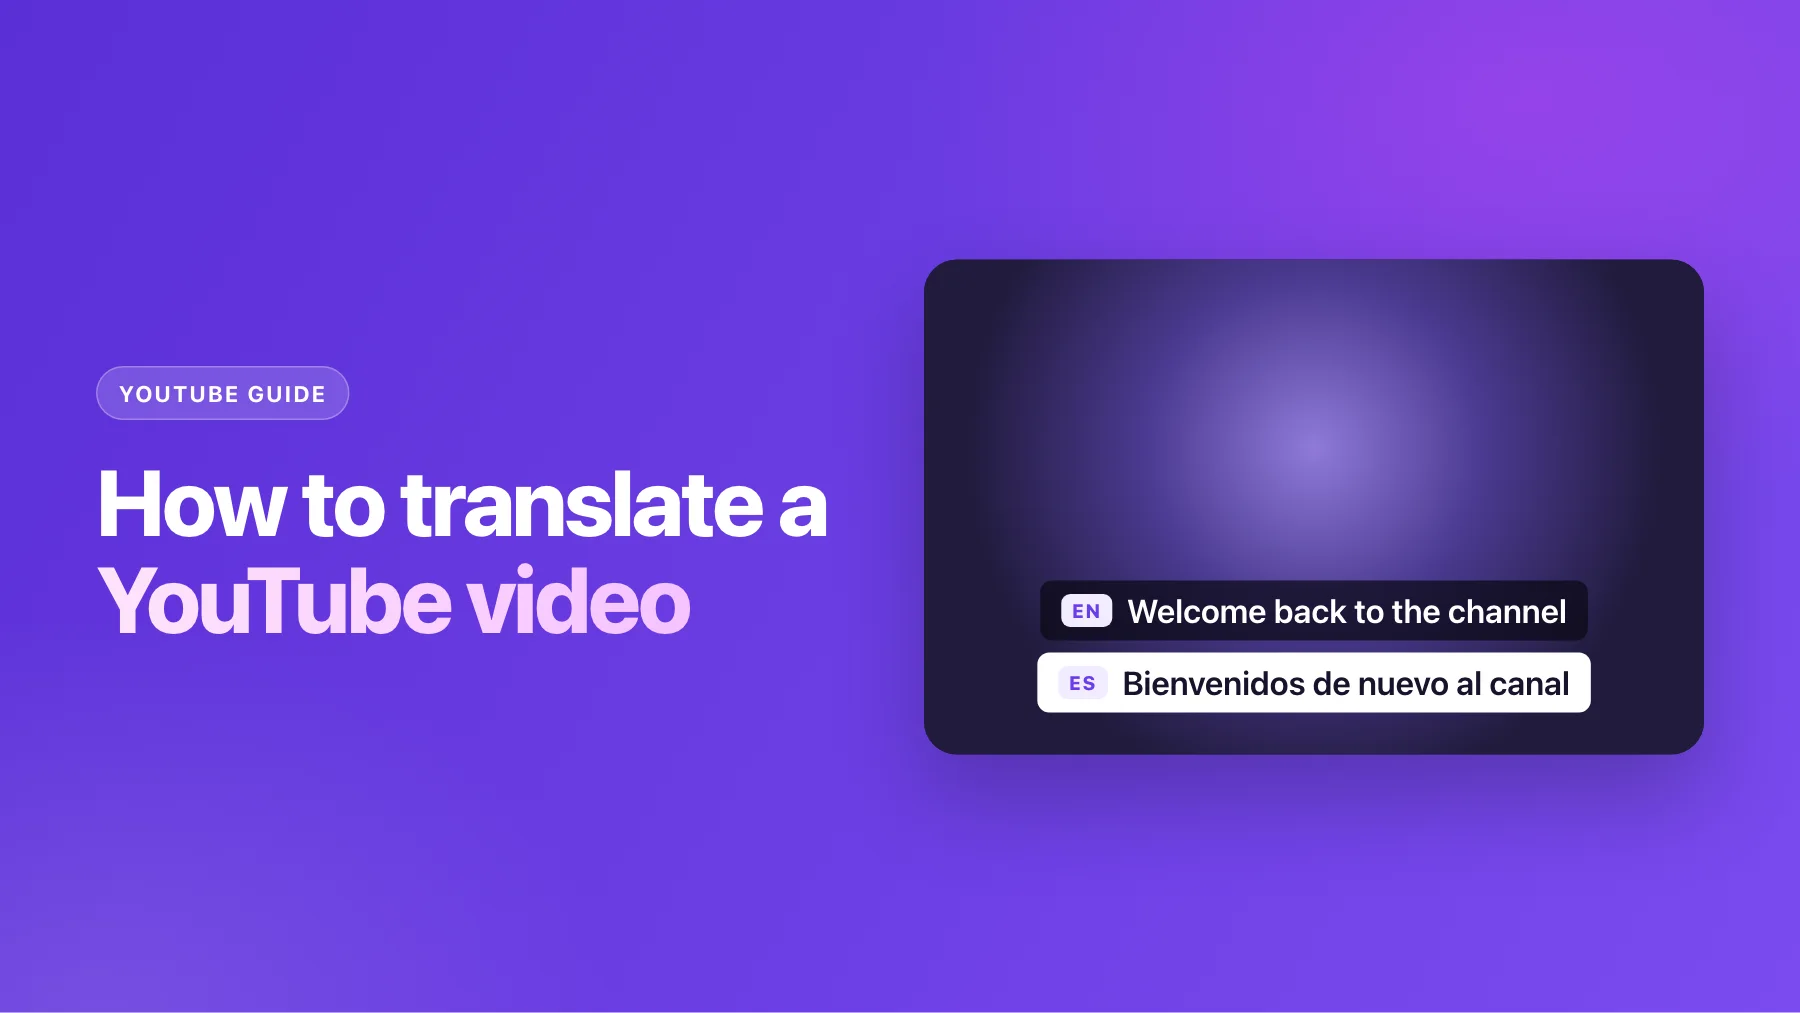
There are two questions hiding behind "how do I translate a YouTube video?" One is a viewer asking how to understand a video in a language they don't speak. The other is a creator asking how to reach people who don't speak theirs. The answers are different, so this guide covers both: the free way to read a video in your language, and three ways to publish your own videos in other languages, from a subtitle file to a full dub in your own voice.
If you only need the short version: viewers can turn on auto-translated captions in the player. Creators get the most reach from a dub (spoken audio in the new language) uploaded to YouTube as an extra audio track, with subtitles in the same language beside it.
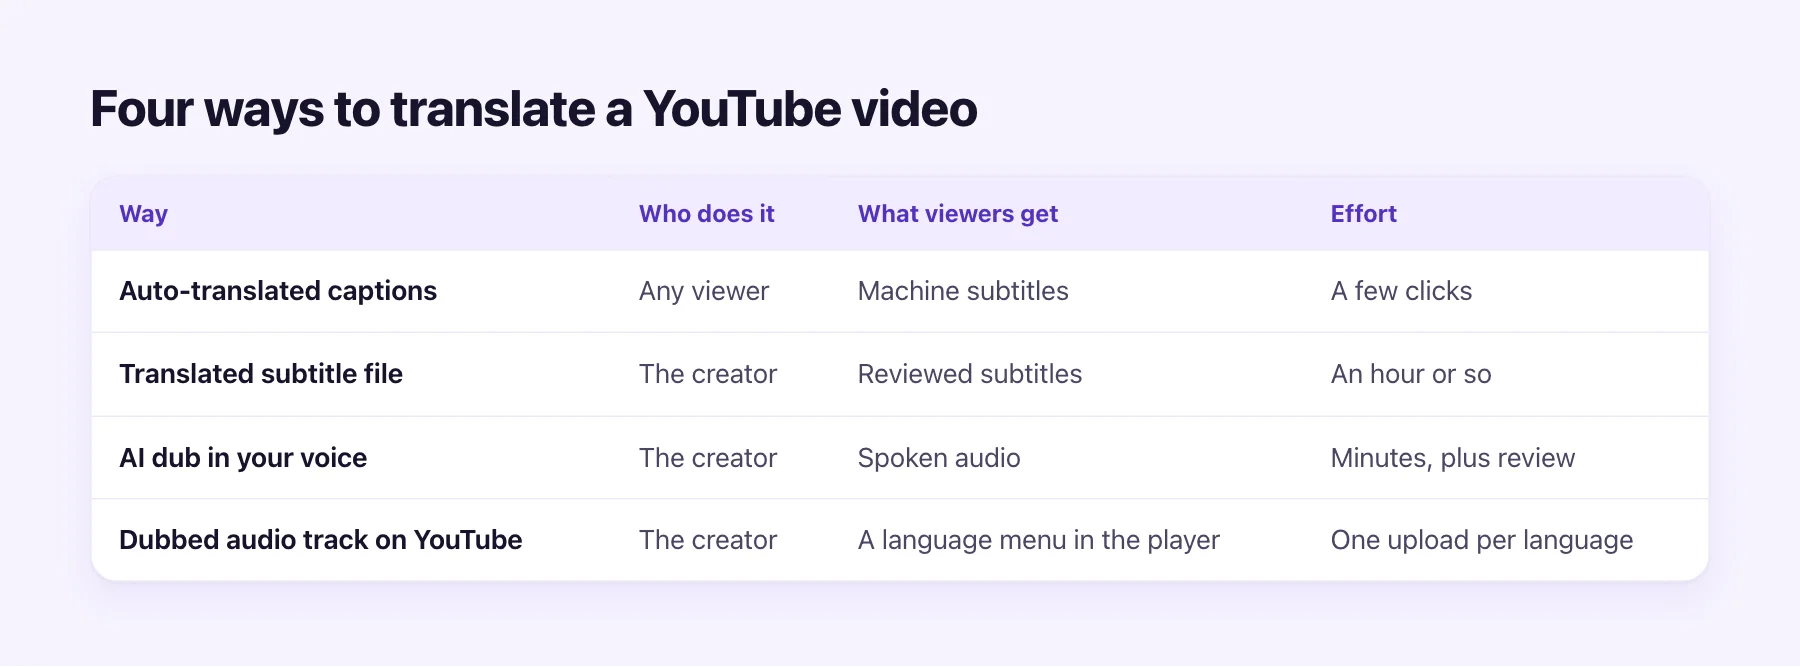
The four ways at a glance
| Way | Who can do it | What the viewer gets | Cost |
|---|---|---|---|
| Auto-translated captions | Any viewer | Machine subtitles, live in the player | Free |
| Translated subtitle file | The creator | Subtitles you checked, in each language | Free to $0.07 a minute with AI |
| AI dub in your voice | The creator | The video spoken in the new language | From $0.54 a minute with AI Video Dubbing |
| Dub + YouTube audio track | The creator | One video with a language menu | Same as the dub; uploading is free |
The first way needs nothing from the creator. The other three need the video file and a few minutes of checking, and they get better results in that order.
Way 1: Turn on auto-translated captions (for viewers)
If you're watching someone else's video, this is the way. It's built into the YouTube player and it's free.
- Start the video and open the player's Settings (the gear icon).
- Choose Subtitles/CC. If the video has captions, pick the original language first.
- Choose Auto-translate, then your language.
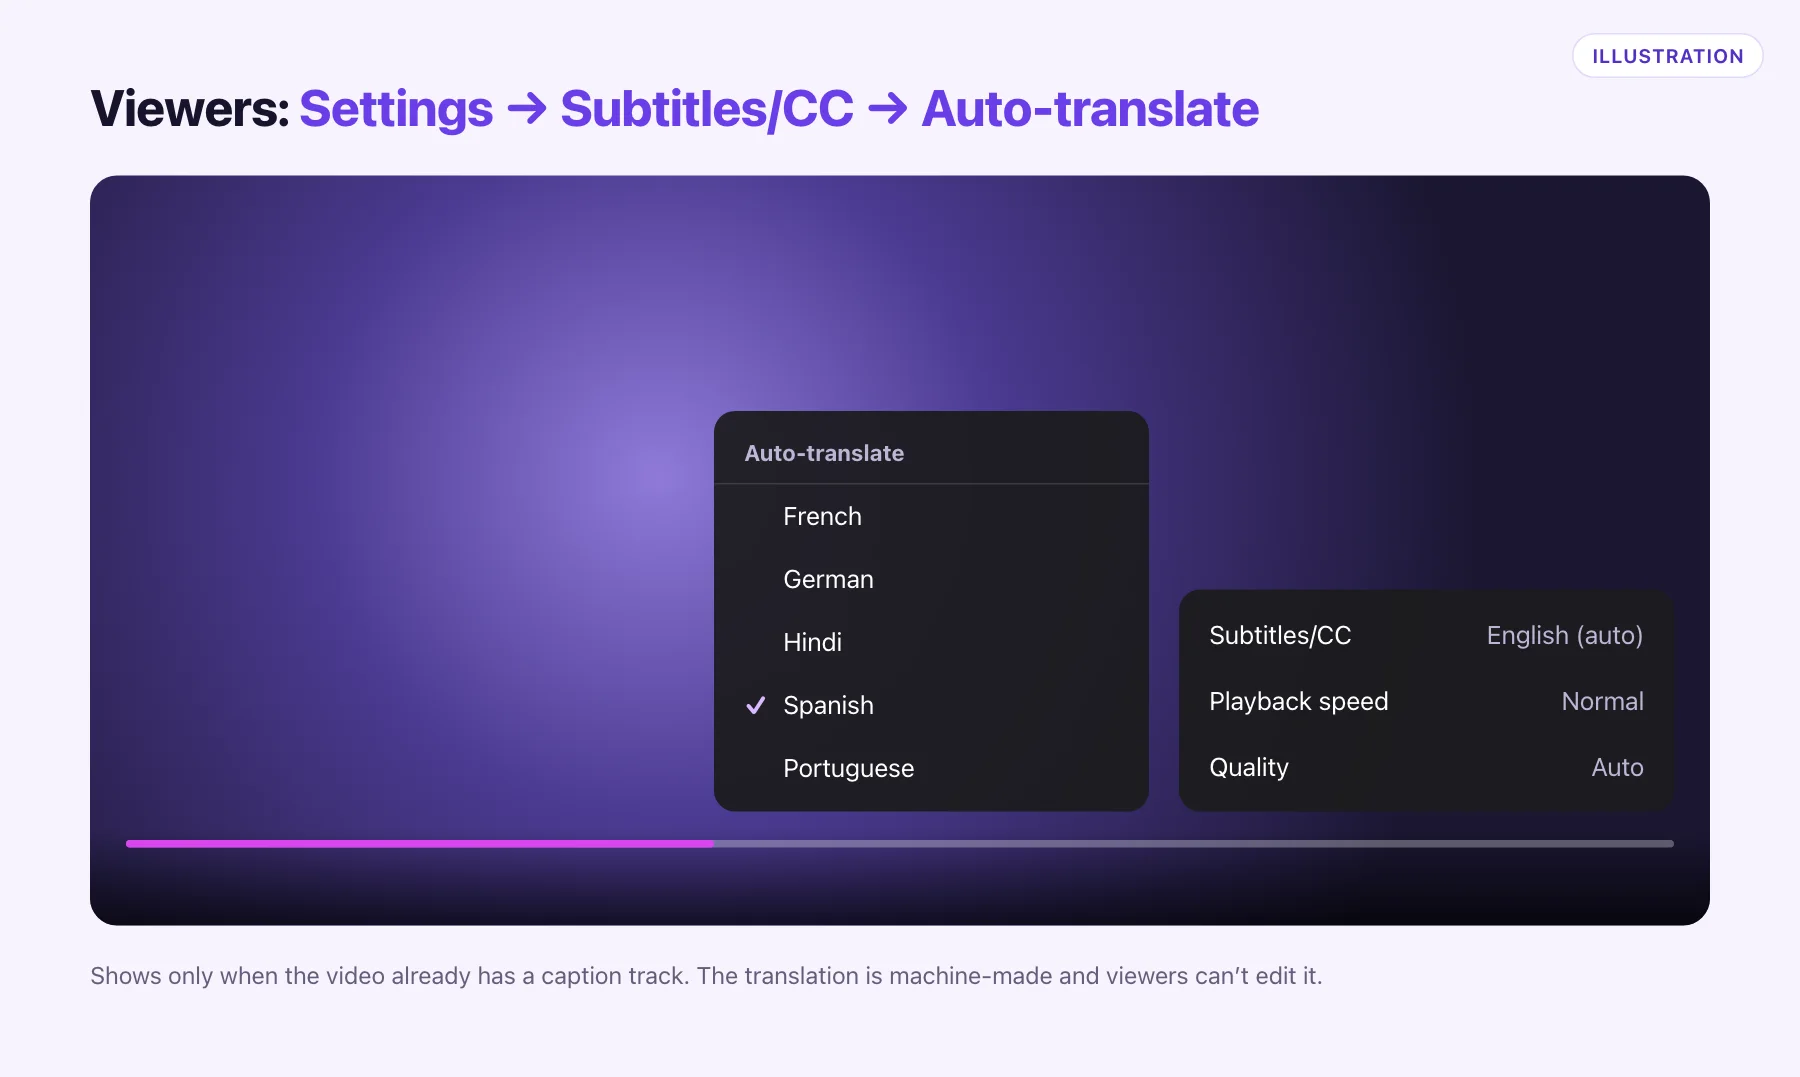
Two limits are worth knowing. Auto-translate only works when the video already has a caption track, either one the creator uploaded or YouTube's automatic captions. And the result is a machine translation shown line by line: fine for following a tutorial, rough for jokes, slang and names. You can't edit it, and the creator never sees it.
That last point is why creators shouldn't rely on it. If a Spanish speaker finds your video, they first have to know the option exists, then read along for ten minutes. Most won't.
Way 2: Translate the subtitle file (for creators)
A translated subtitle file is the cheapest thing a creator can do properly. You keep one video and add a subtitle track for each language, and YouTube shows viewers the one that matches their settings.
The steps:
- Get a subtitle file in your language. If you uploaded captions, you have one. If not, YouTube's automatic captions are a starting point, or a subtitle generator can make an SRT from the video.
- Translate it. Keep the timing lines as they are and translate only the text. A subtitle translator does this in one step and keeps the timing; our SRT guide shows what can break.
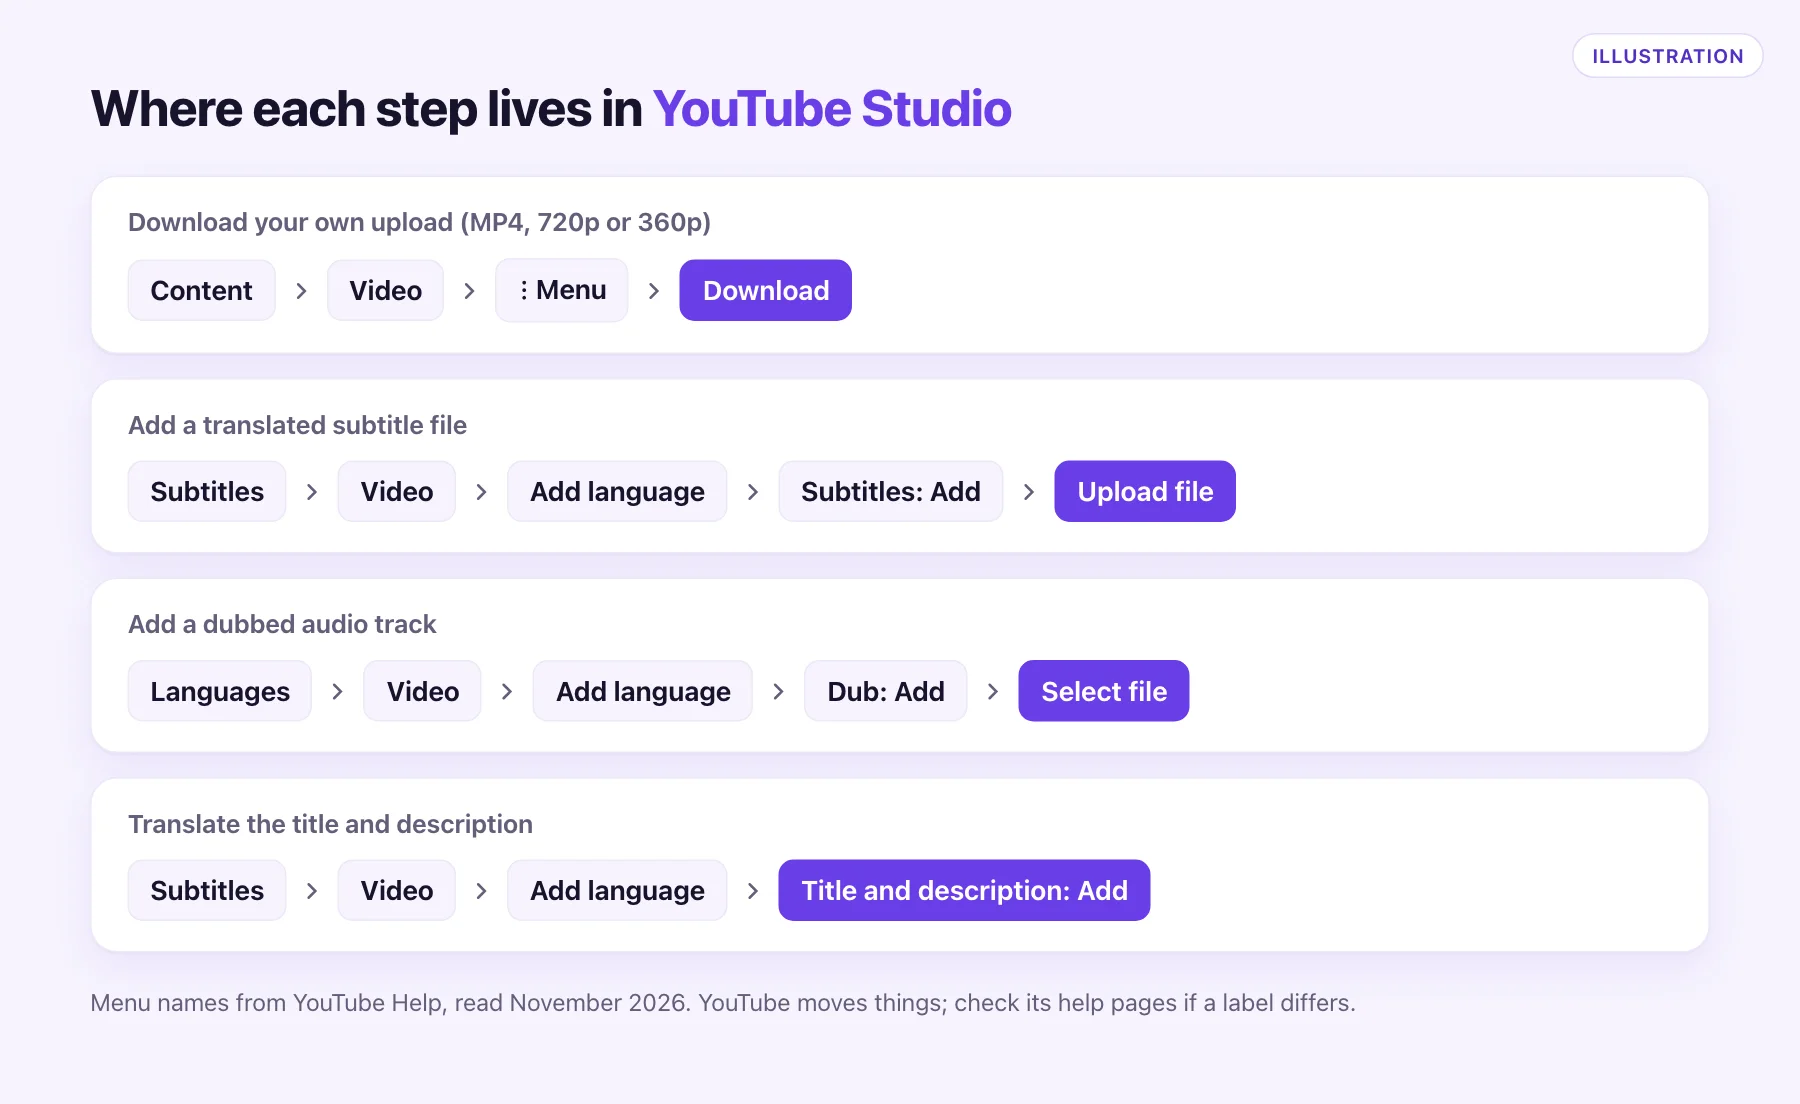
- Upload it to YouTube Studio. Open Subtitles, pick the video, choose Add language, then add subtitles with Upload file and pick With timing.
YouTube accepts SRT and WebVTT (.vtt) among a long list of formats, so either file works.
Subtitles work well for viewers who already watch with them on. They do less for people who watch on a TV across the room, cook while they listen, or simply prefer to hear the video. For those viewers you need audio.
Way 3: Dub the video in your own voice
A dub replaces the speech with the same words spoken in another language. Done by people, that means a translator, a voice actor and a studio for each language. AI does the same steps in minutes: it transcribes the speech, translates it, voices it, and mixes it back over your music and sound effects.
Here's how it works in AI Video Dubbing, step by step.
1. Get your video file
Link import is coming soon; for now you upload the file. To download your own upload, open YouTube Studio, go to Content, open the video's menu and choose Download. YouTube gives you an MP4 at 720p or 360p depending on the video. If you still have the original export from your editor, use that instead: it's sharper.
You can also trim it first and dub only the part you need.
2. Upload it and pick the language
Drop the file on the YouTube video translator. We take MP4, MOV, WebM and MKV up to 2 GB. Leave the original language on Auto-detect and choose the language you want. We translate into 70+ languages and dub 65+ of them in your own voice.
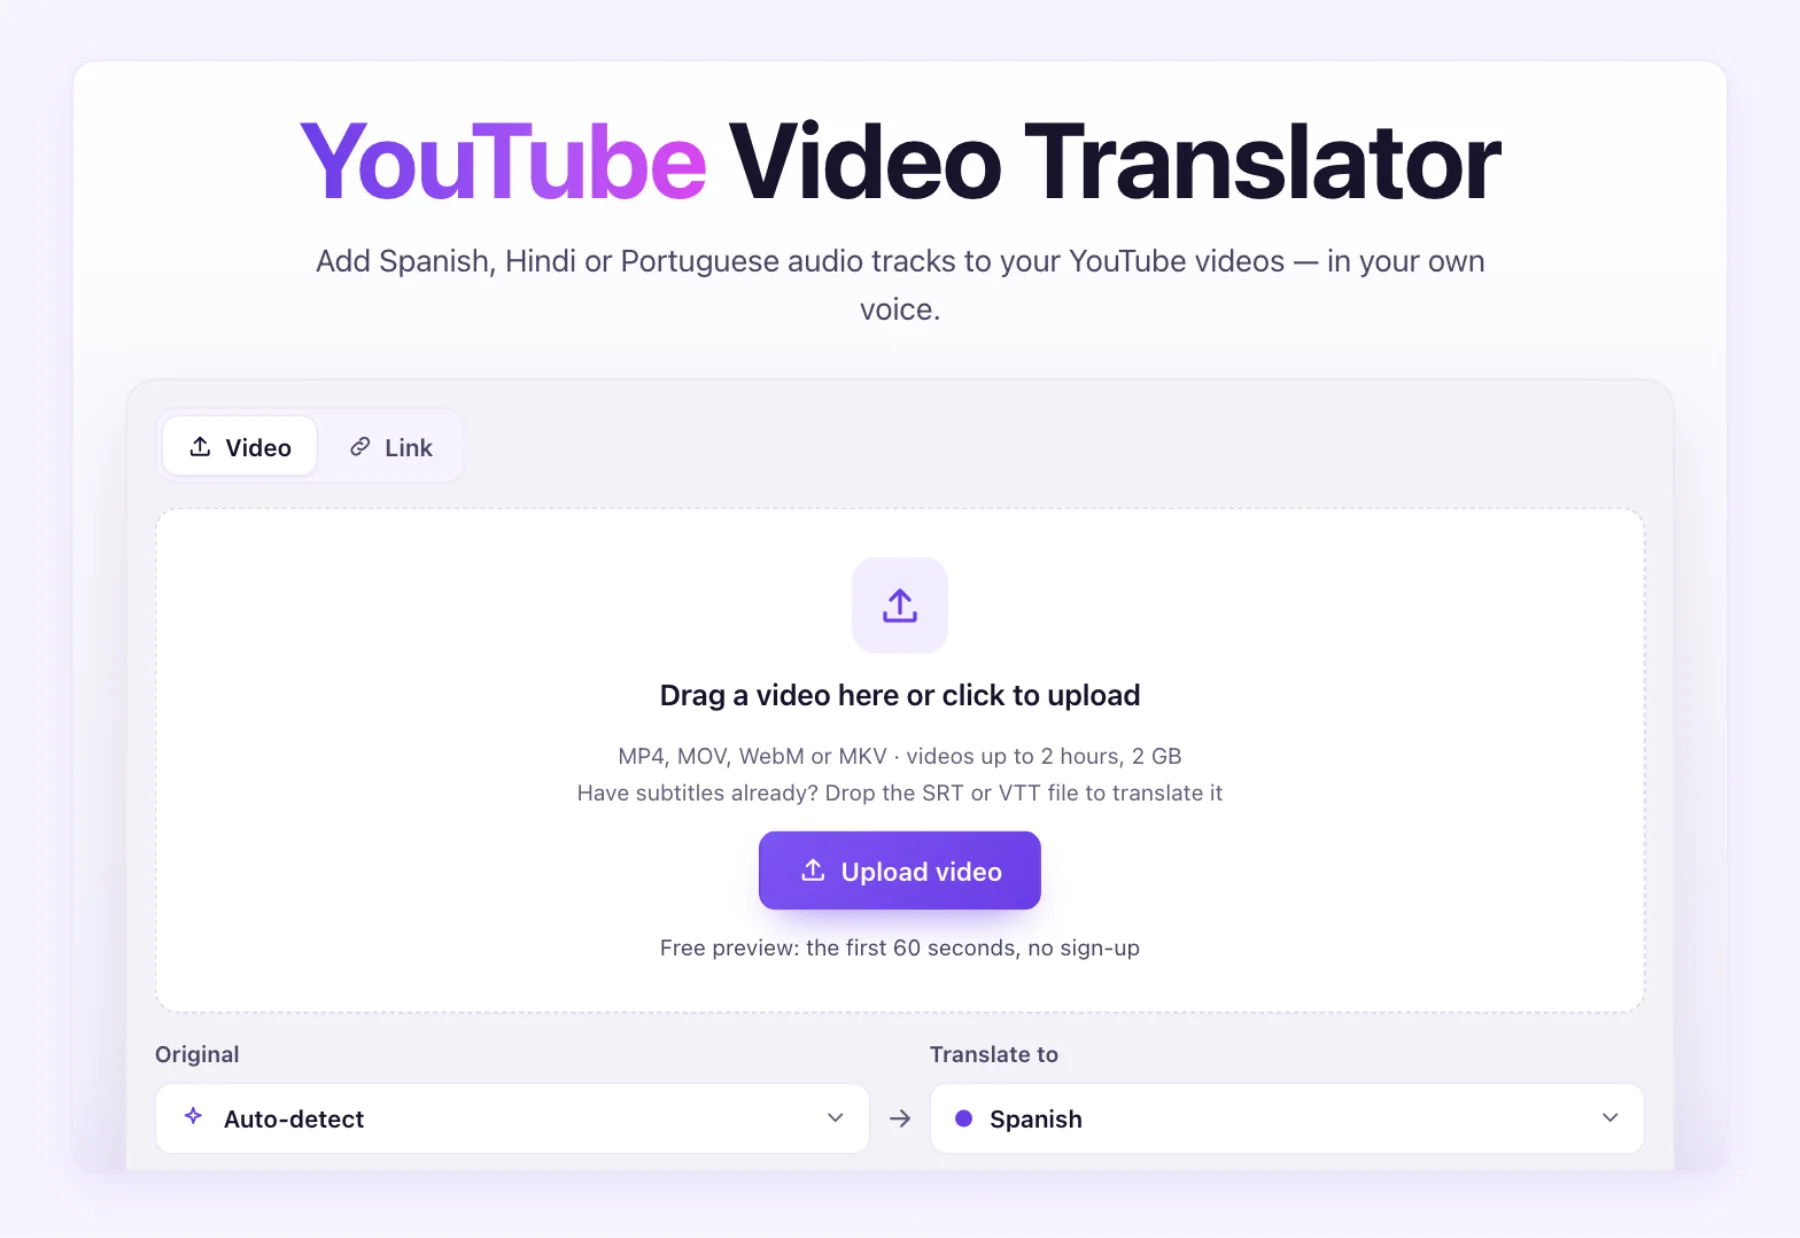
The first 60 seconds are free with no sign-up, so you can hear how your voice sounds in Spanish or Hindi before you spend anything.
3. Read the script before it's voiced
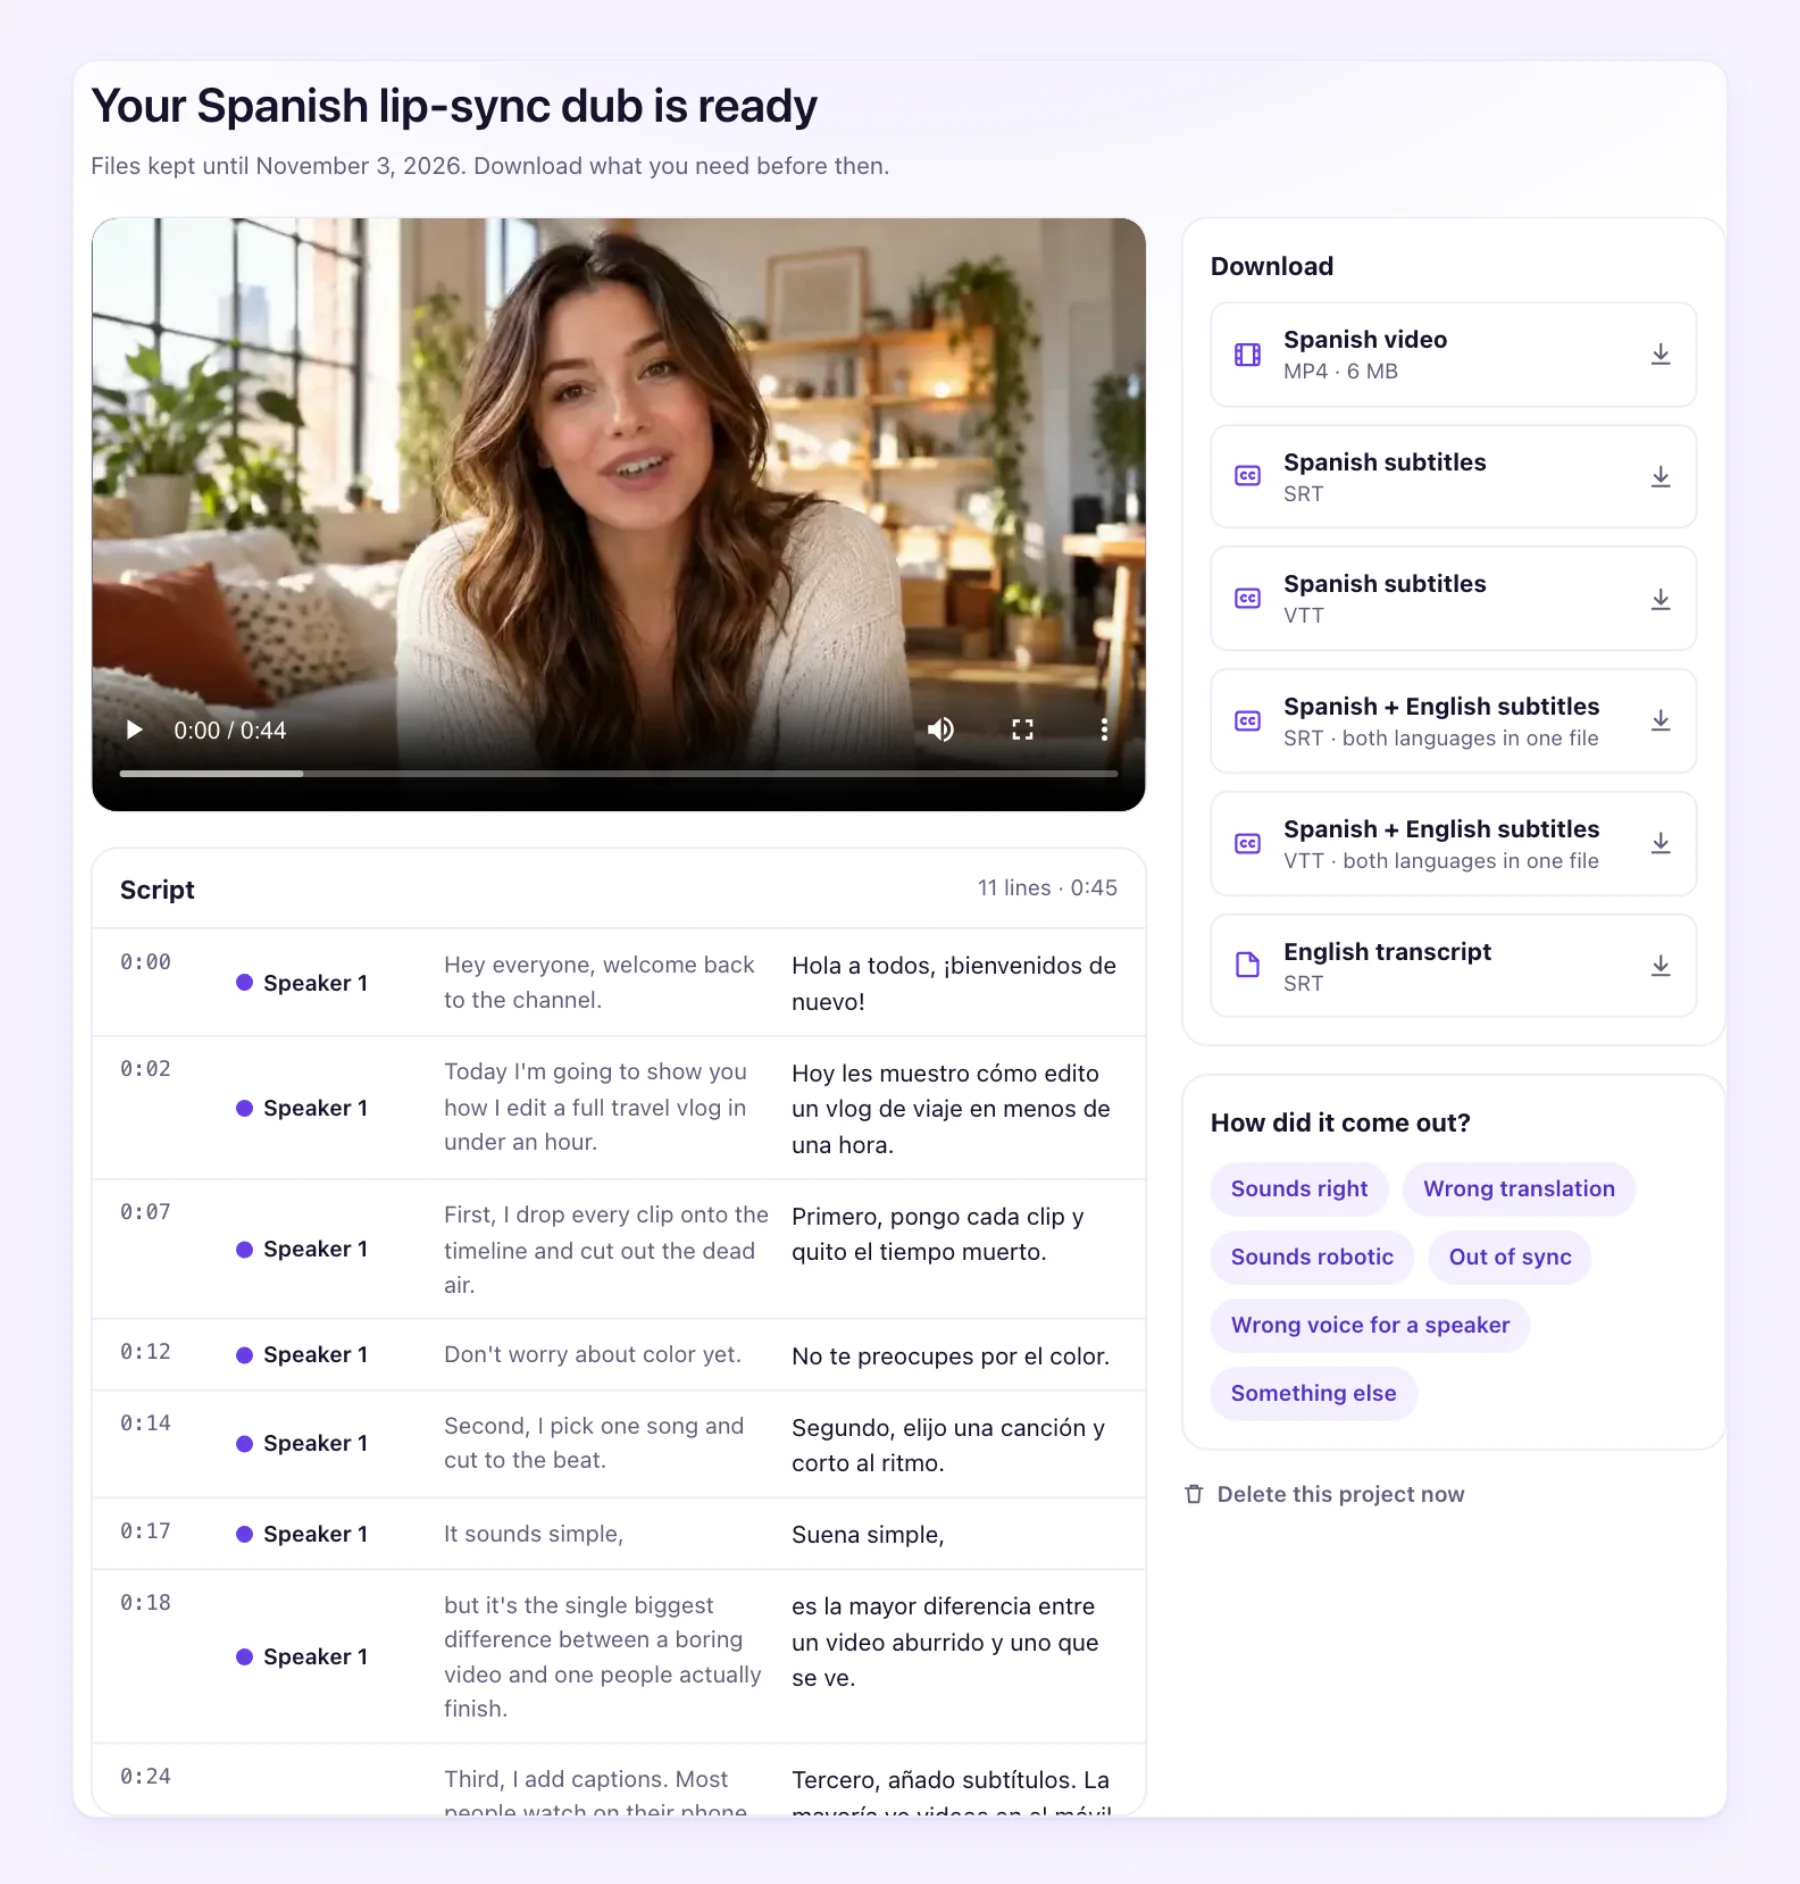
Before any audio is made, you see the script line by line: the original on the left, the translation on the right, with timestamps. Fix a name, a product term or a number here and it's fixed in the voice too. If your channel has words that should never be translated (your brand, a recurring segment name), add them to the glossary once.
4. Download what you need
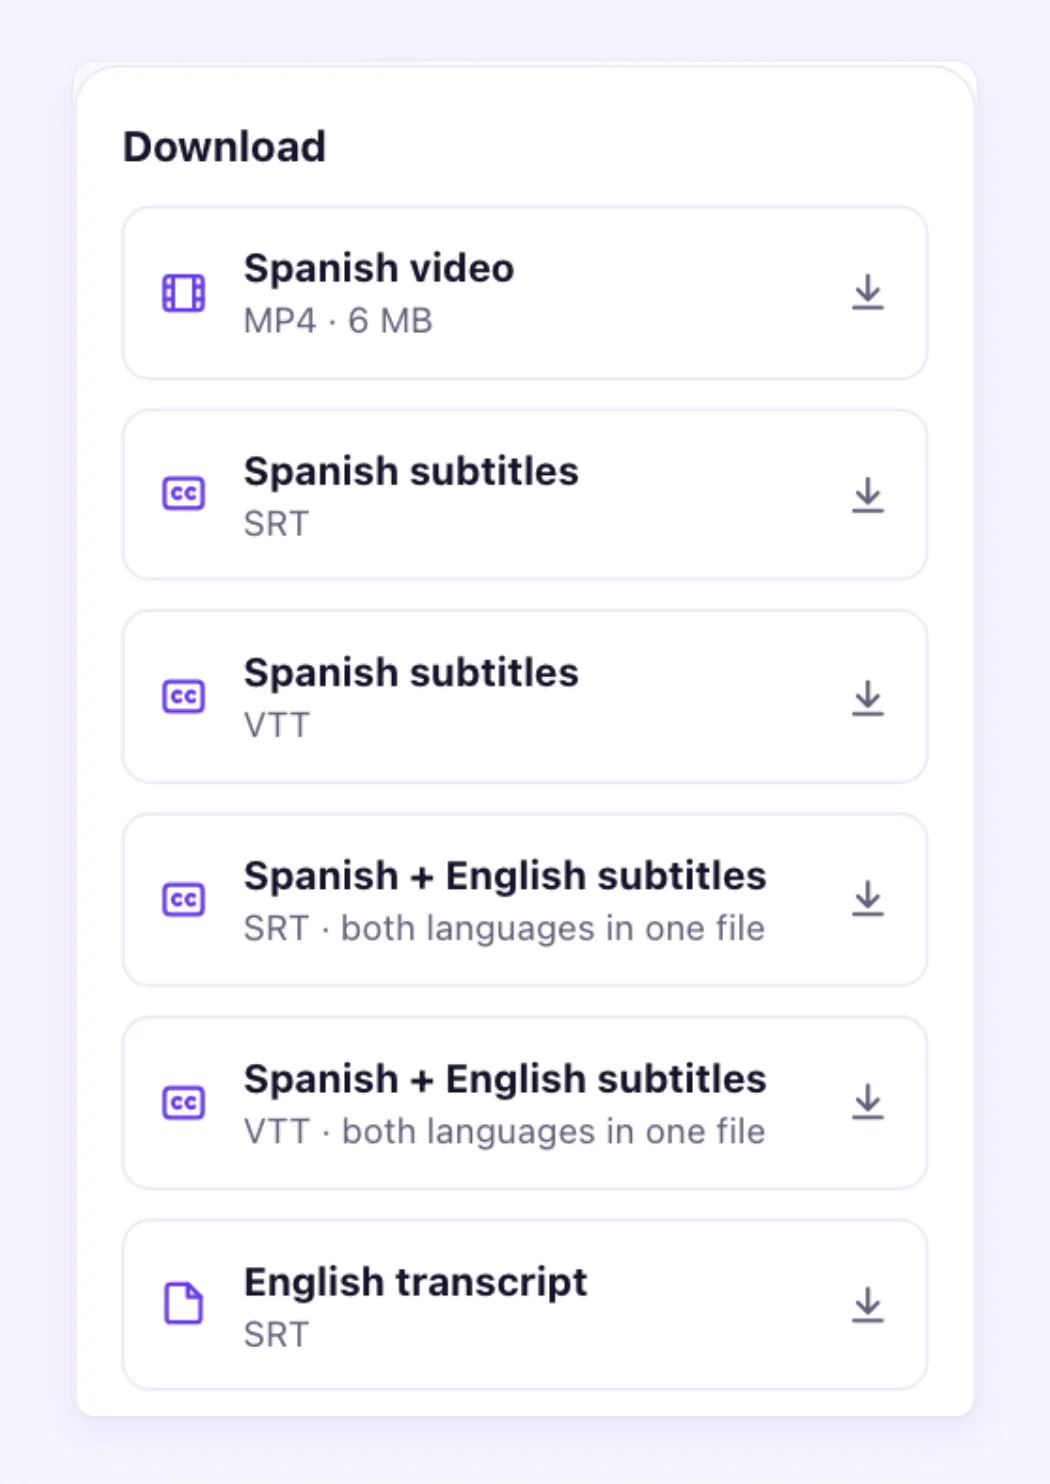
When it's done, you get the dubbed MP4 with no watermark, the dub as an audio-only file, subtitles in SRT and VTT, a bilingual subtitle file with both languages, and the transcript. For YouTube, the audio-only file is the one you'll upload in the next step.
If your face is on camera and you want the lips to match the new words, choose lip sync instead of the plain dub. It costs more per minute ($1.78 at the lowest) and you upload a new video rather than a track; what lip-sync translation is explains when it's worth it.
Way 4: Add the dub to YouTube as an audio track
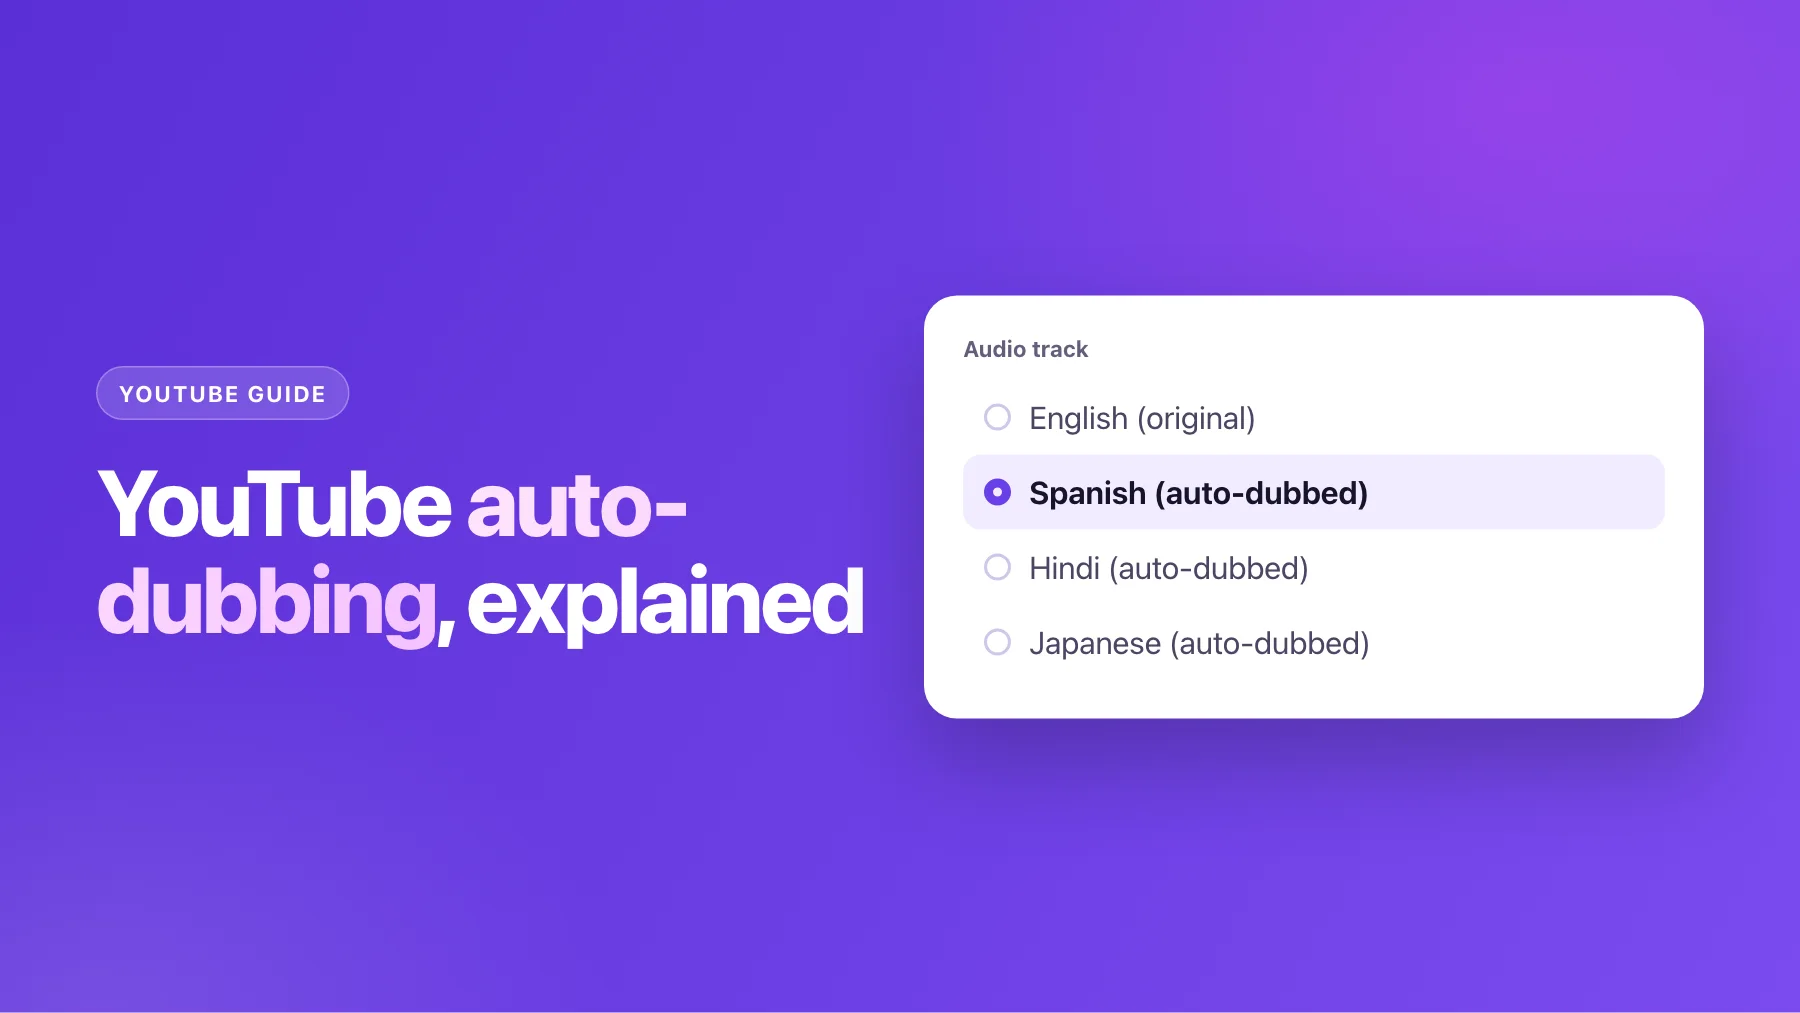
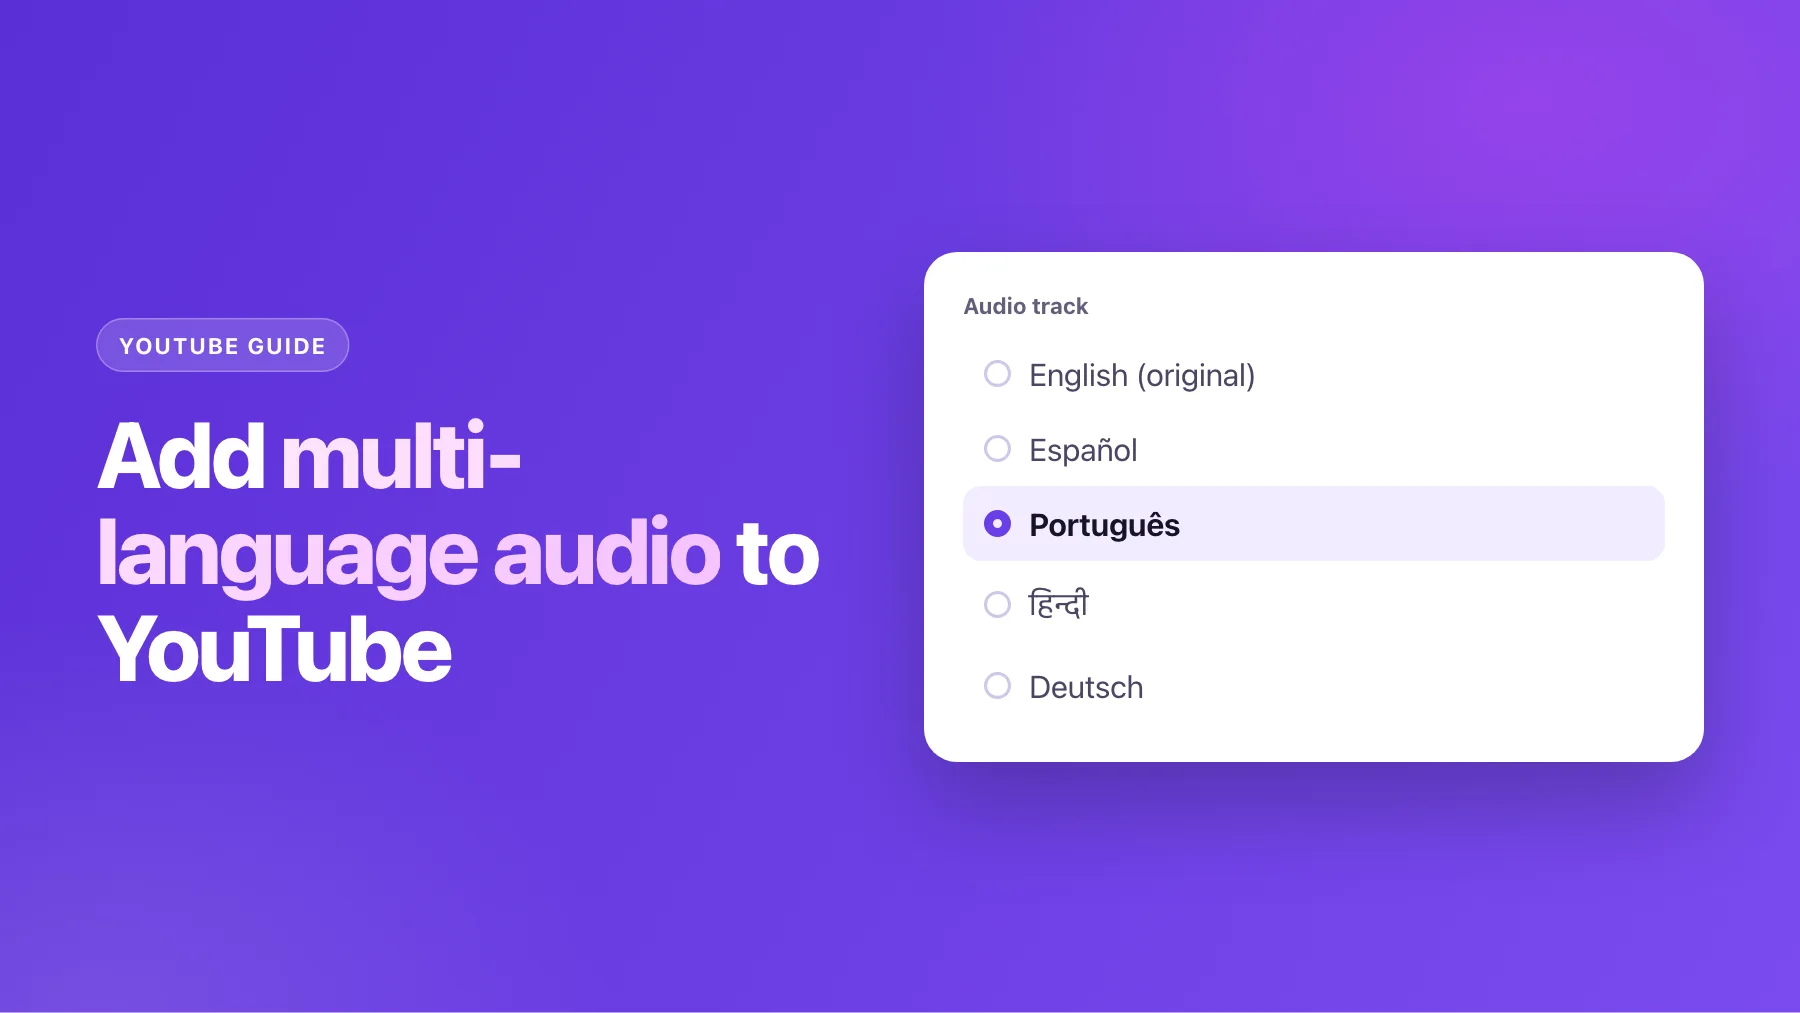
YouTube lets creators attach several audio tracks to one video. Viewers hear the track in their preferred language automatically and can switch in the player's settings. Your views, comments and watch time stay on one video instead of being split across copies.
- In YouTube Studio, open Languages and pick the video.
- Choose Add language and select the language of your dub.
- Next to Dub, choose Add, select your audio file and publish.
The file must be audio only and roughly the same length as the video, which is what the dub's audio-only download is. If YouTube has already made an automatic dub in that language, delete it first. This needs Advanced features turned on for your channel. Our guide to multi-language audio tracks covers the details, including Shorts.
While you're in Subtitles, add the translated title and description too (Add language, then Title and description). That's what YouTube search reads in the new language; a dub nobody can find doesn't help.
Before you publish
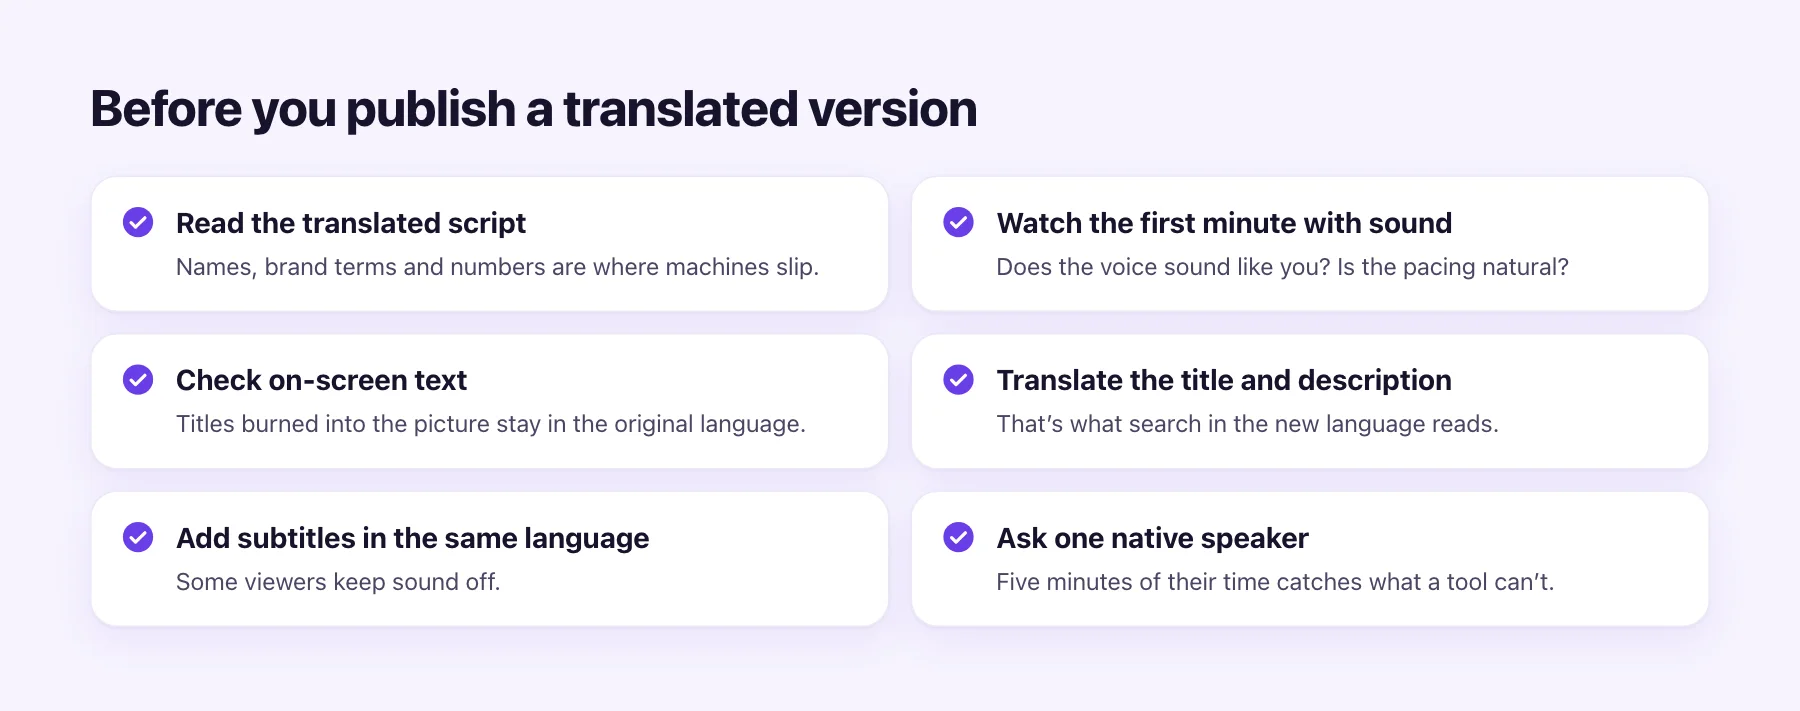
A few minutes of checking separates a dub people finish from one they click away from:
- Read the translated script. Names, brand terms and numbers are where machines slip.
- Watch the first minute with sound. Does the voice sound like you? Is the pacing natural?
- Look for on-screen text. Titles and captions burned into the picture stay in the original language.
- Translate the title and description. It's what search in the new language reads.
- Add subtitles in the same language. Some viewers keep the sound off.
- Ask one native speaker to watch a minute. They'll catch what no tool will.
Which way should you pick?
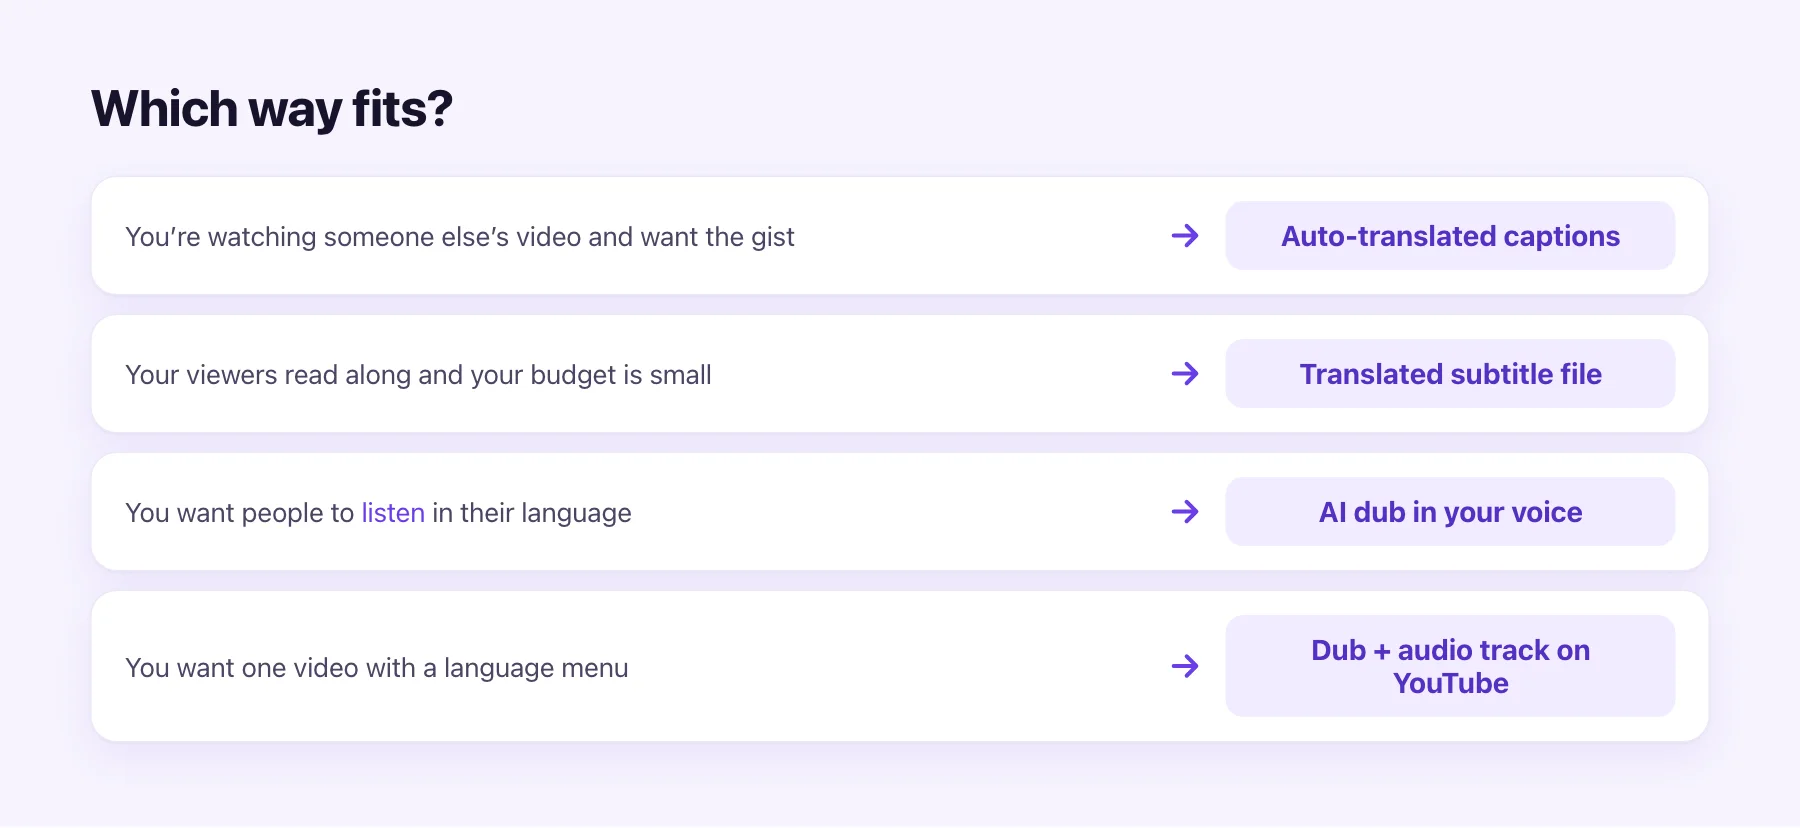
- Watching someone else's video? Auto-translated captions. It's free and needs nothing from the creator.
- Your audience reads along and money is tight? A translated subtitle file per language.
- You want people to listen in their language? Dub it, in your own voice.
- You want one video that serves every language? Dub it and upload the dub as an audio track, with translated subtitles and title next to it.
Most channels start with one language that already shows up in their analytics (YouTube Studio's audience tab shows where viewers come from), dub their best-performing videos into it, and watch what happens before doing more. If you want to try that on one video, the first 60 seconds on the YouTube video translator are free.